02 - assembly workflow
Running the MitoPilot workflow
Now that our test project is set up, it’s time to run the analysis workflow. MitoPilot utilizes Nextflow to analyze all of the samples in parallel. This is far more efficient than running each sample one at a time in a serial workflow.
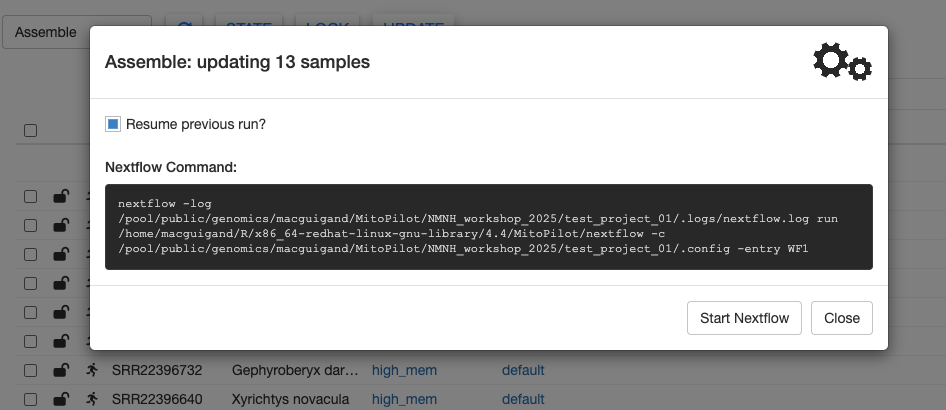
To generate the Nextflow command for the Assemble module, click the UPDATE button at the top of the GUI.
There are two ways to run this Nextflow command on Hydra.
Method 1: Using the GUI
With the Update window open, click the Run from App button to run the analysis pipeline within the MitoPilot GUI. This requires you to keep the GUI open while the pipeline is running.
We recommend only using this method for small numbers of samples. If your internet connection is interrupted, the analysis pipeline will stop. You can resume an interrupted run, but it will waste time and can occasionally cause bugs.
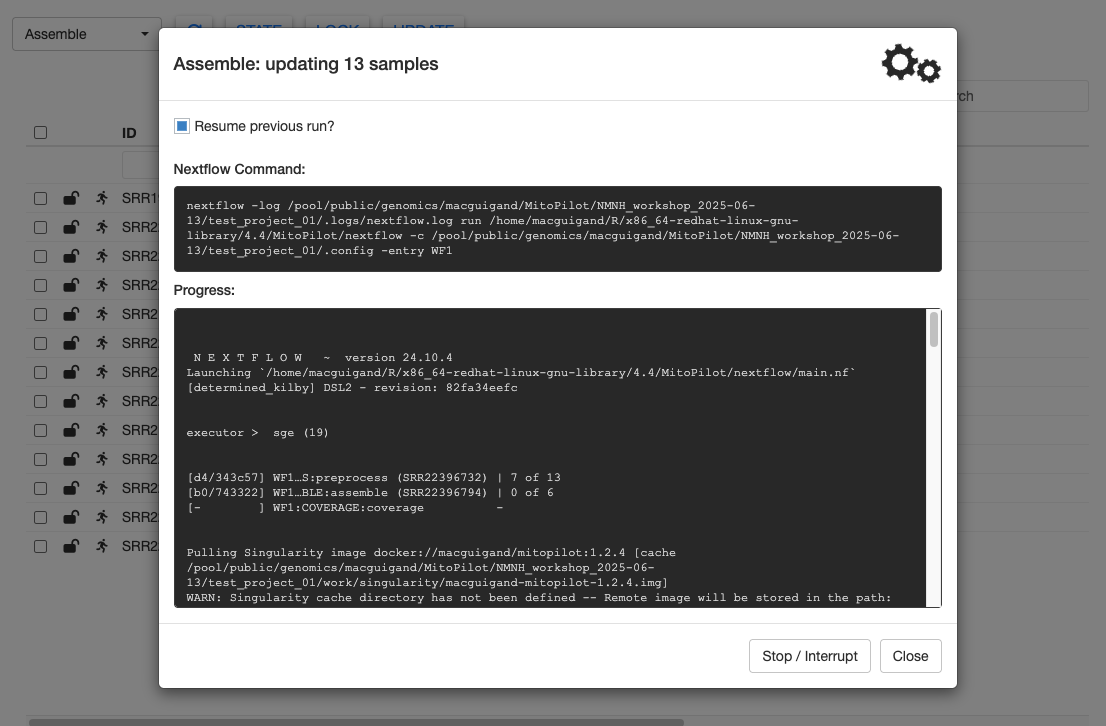
And we’re off! You should see Nextflow output being printed the to Progress window. This window will continually update as the pipeline progresses. As long as the gears in the top right are spinning, the pipeline is still running.
The Assemble pipeline module has 3 steps: preprocessing (filtering) the raw FASTQ files with fastp, assembling the mitogenomes using GetOrganelle (or MitoFinder), and calculating coverage maps for the assemblies using bowtie2.
Nextflow distributes the analyses across multiple batch jobs on the Hydra cluster. This can allow you to run hundreds of samples simultaneously. The Progress window will update as samples finish each step.
You can use Hydra’s job scheduler to check on the status of MitoPilot jobs. Some samples may finish faster than others.

Some samples may fail at certain steps (though this is unlikely for the test dataset). Failures are often due to running out of memory, so MitoPilot will retry failed samples with more RAM. The Nextflow log tracks the number of failed samples and retries. We describe some common errors here.

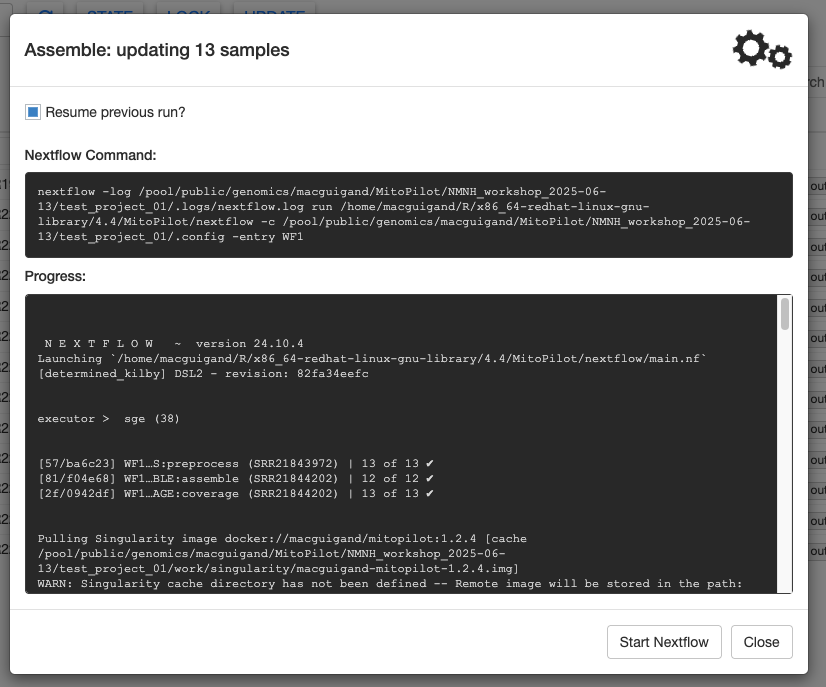
The test dataset should take a few minutes to finish. When it’s done, your Progress window will look something like this.
Scroll all the way to the bottom of the Progress window to find some summary info about the run.
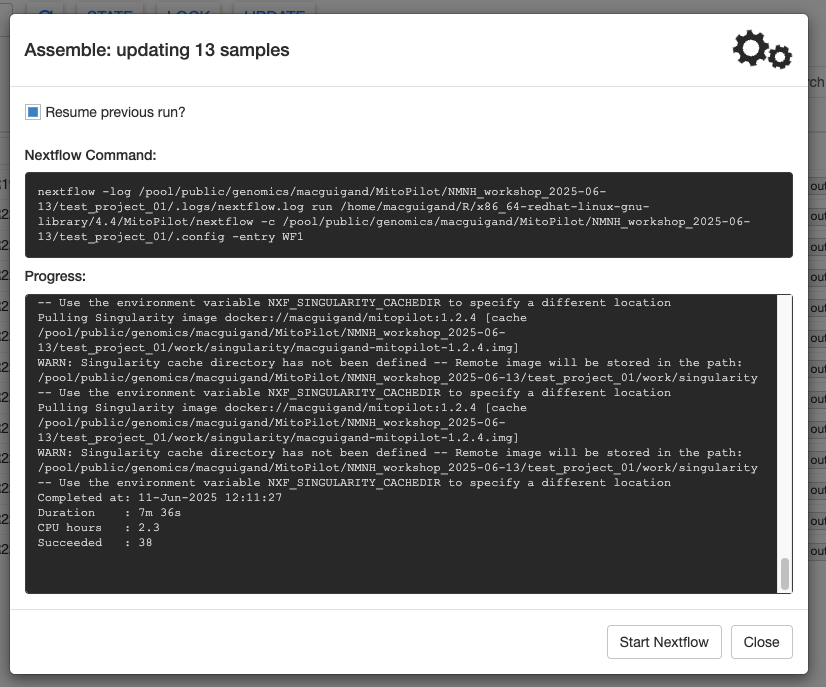
Click Close to return to the samples table.
Method 2: batch job through MitoPilot
If you have a large number of samples to process (more than a few dozen), we recommend running the Assemble and Annotate MitoPilot modules as batch jobs.
For users working on the Smithsonian Hydra cluster, you will notice there is an additional button in the Update window: Submit as Job. Clicking this will automatically submit your MitoPilot workflow as a job to the cluster.
Currently, the Submit as Job button is only available for the Smithsonian Hydra cluster.
You can monitor the progress of this job using the qstat command and by checking on the log files. Once the job is done, you can relaunch the GUI to inspect the results. The same approach can be used for the Annotate module.
Method 3: custom batch job
You may wish to have finer control over your batch job settings. Or if you are not working on Hydra, the Submit as Job button will not be an option. Instead, you can copy the Nextflow command in the Update window and embed it within a job submission script.
Below is an example submission script for Hydra.
#!/bin/sh
#$ -N MitoPilot_assembly # MODIFY THIS IF DESIRED
#$ -o MitoPilot_assembly.log # MODIFY THIS IF DESIRED
#$ -cwd -j y
#$ -q lTWFM.sq
#$ -l wfmq
#$ -pe mthread 2
#$ -S /bin/sh

echo + `date` job $JOB_NAME started in $QUEUE with jobID=$JOB_ID on $HOSTNAME

source ~/.bashrc

module load tools/java/21.0.2 # required for Nextflow on Hydra

# EXAMPLE NEXTFLOW COMMAND
nextflow -log /pool/public/genomics/macguigand/MitoPilot/NMNH_workshop_2025/test_project_01/.logs/nextflow.log run /home/macguigand/R/x86_64-redhat-linux-gnu-library/4.4/MitoPilot/nextflow -c /pool/public/genomics/macguigand/MitoPilot/NMNH_workshop_2025/test_project_01/.config -entry WF1

echo = `date` job $JOB_NAME done
You can monitor the progress of this job using the qstat command and by checking on the log files. Once the job is done, you can relaunch the GUI to inspect the results. The same approach can be used for the Annotate module.